How to Make An Educational Resource – Blanket Book

This project was made in less than a week.
I received a call requesting a resource full of garment fasteners for a young autistic boy.
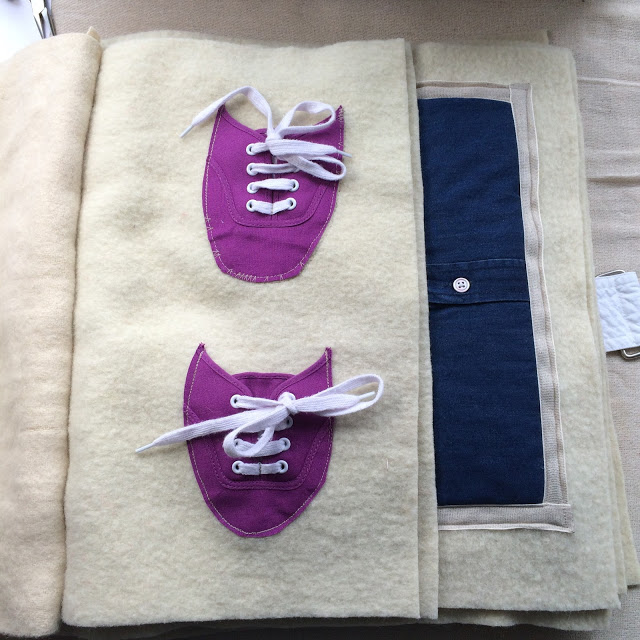
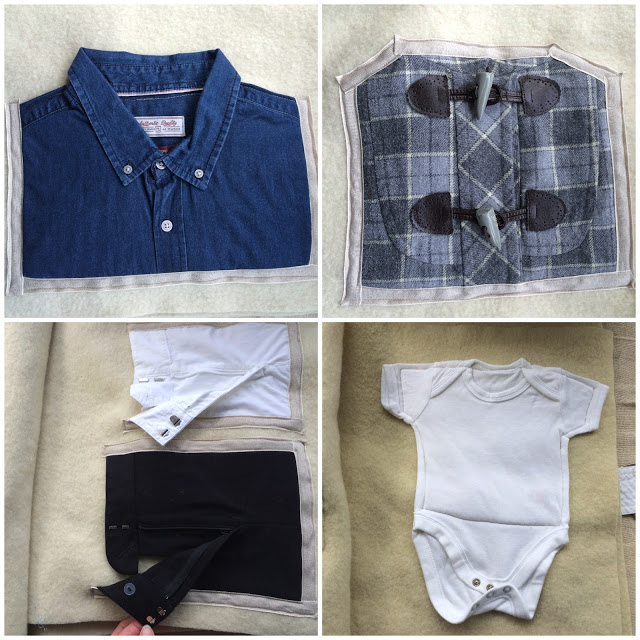
After thinking about it’s design, I started rummaging around the charity shops looking at everything in a different way. Usually I shop for textured fabrics for embroidery, but this time it was any and every garment and bag fastener I could lay my hands on. Luckily I sourced it all in one big shop –  zips, toggles, hooks and eyes, magnetic poppers, poppers, buttons and Velcro. I had a stash of vintage wool blankets at home and set about thinking about its construction.
If you would like to make one too, here’s how I made it.

  • What you’ll need:
    1. Wool blanket to make the pages
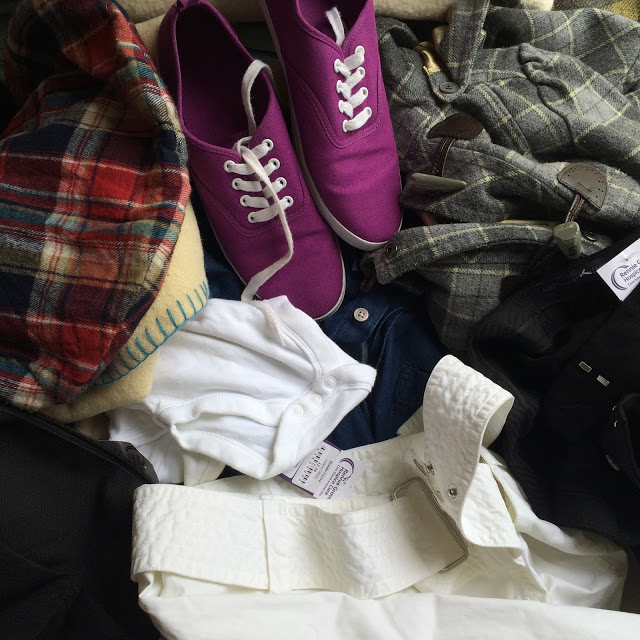
    2. Garments with suitable fasteners (dependant on the ages of the users, be aware of choking hazards such as buttons and laces)
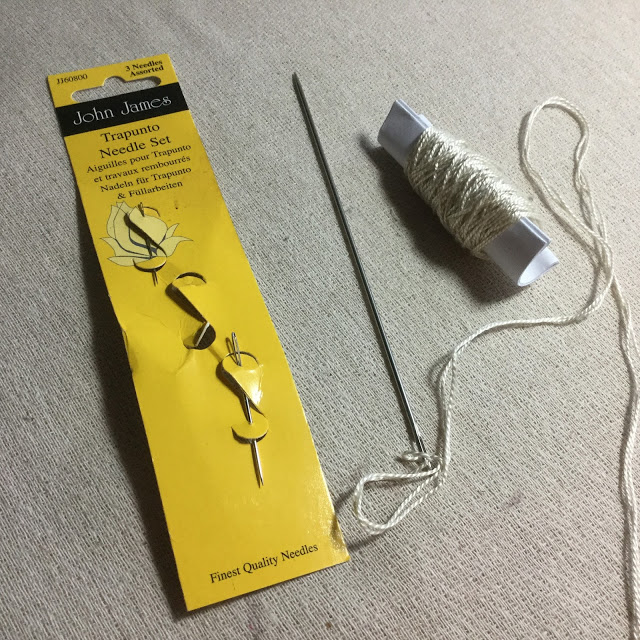
    3. Thick Perle cotton thread and a long needle (Trapunto or Mattress needle
    4. Ribbon or cotton tape for top stitching onto the cut edges of garments.
    5. Sewing machine and thread (I used a walking foot too for stitching some of the pieces).
  • Wash and press everything before cutting.
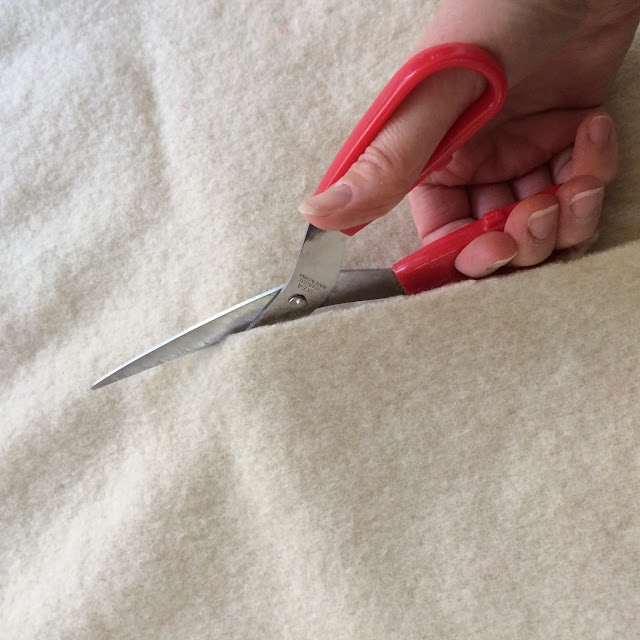
  • Cutting the blanket.
    •  I looked at the dimensions of the largest piece to be appliqued onto a page – a baby’s vest – and took this as the starting point for the page’s measurements.
    • Cut pages 17″ x 17″. Some I cut 17″ x 12″ to make narrower pages.
    • Cut front page 17″ x 17″
    • Cut a piece of blanket 22″ x 17″ for the back cover (which wraps around the front to make the spine of the book)
  • Cut the garments and the fasteners ensuring there is enough seam allowance to stitch the piece down.
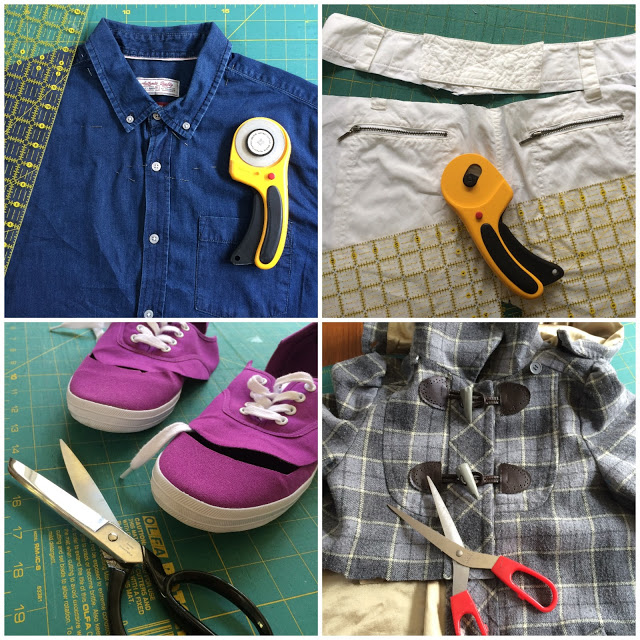
  • Arrange the pieces onto pages, leaving a 3″ gap at one edge of the blanket page for stitching into the spine. I sourced a book fastener too from the white trousers.
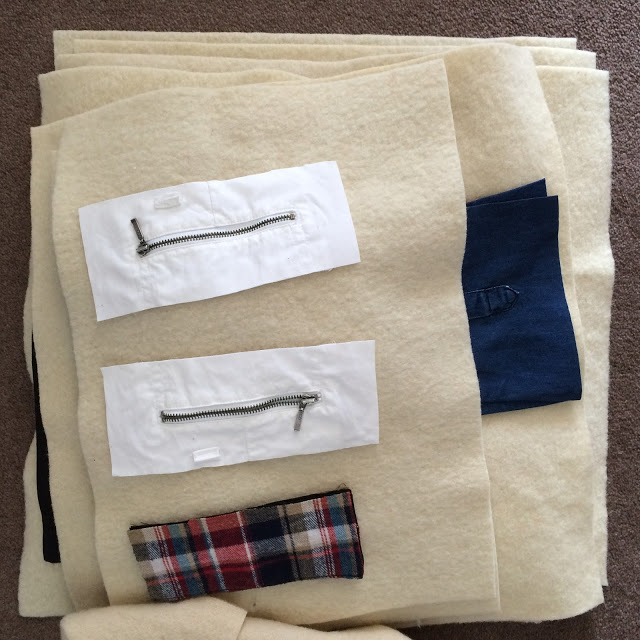
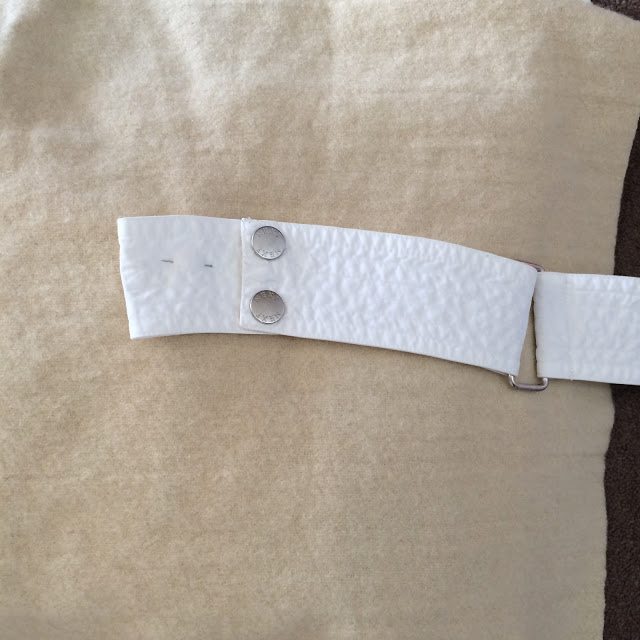
 

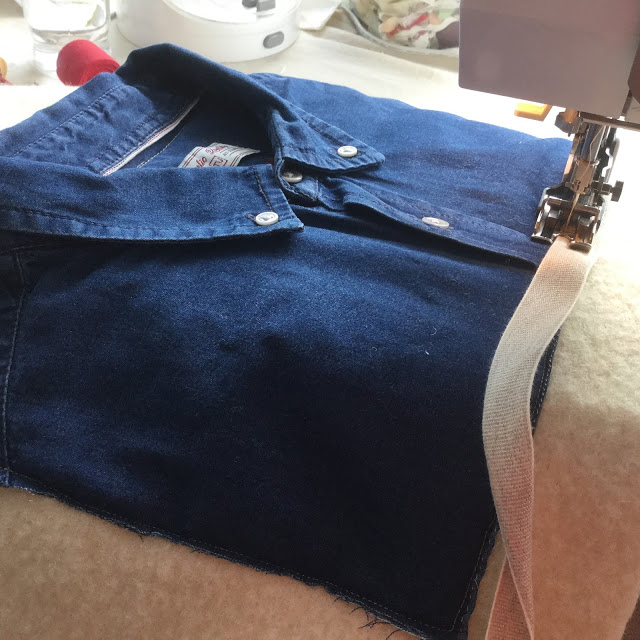
  • Pin and using your sewing machine, stitch into place using a running stitch or zig-zag stitch. Add ribbon or tape to the raw edges if needed.
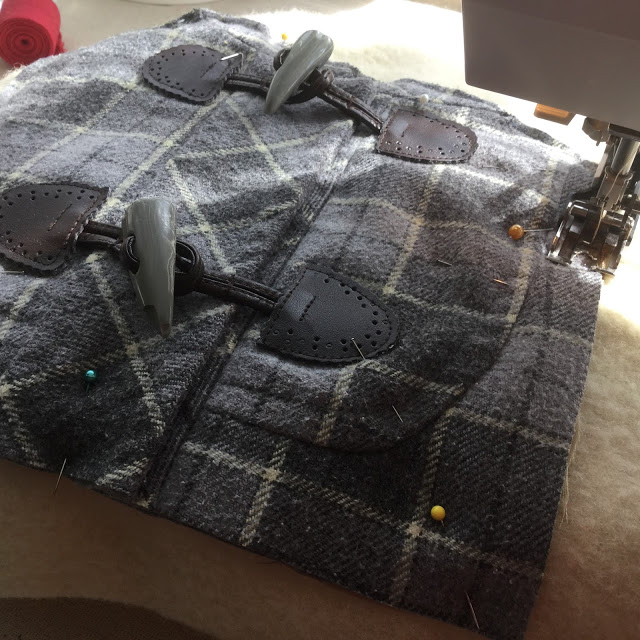
  • Layer the pages, the front page and back page. Wrap the excess fabric from the back page around to the front to cover to make the spine.
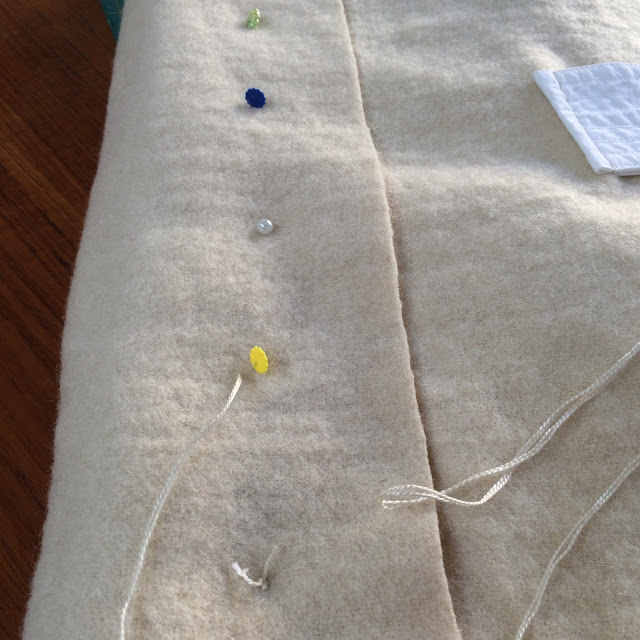
  • Use an odd number of long pins (I used Quilting pins) to hold the spine edge ready for binding, spaced around 2″ apart.
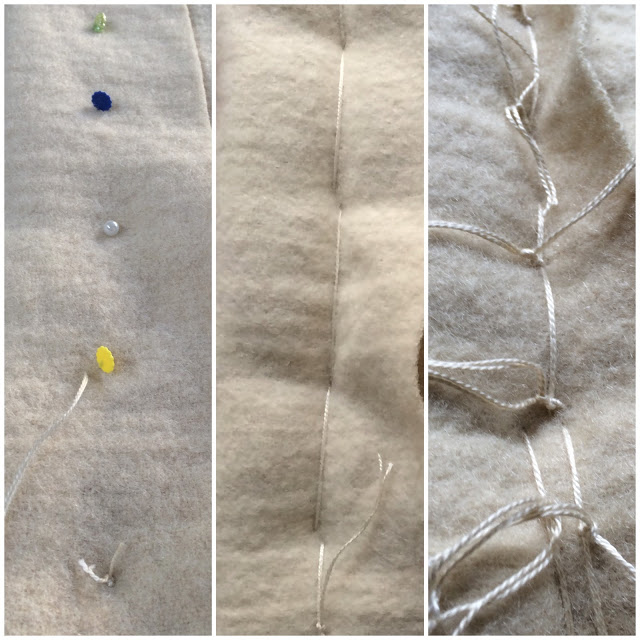
  • Measure enough thread – 5 x the length of the spine – thread the needle, double the thread and knot (I tried using single thickness but double thread will be far stronger). Using the position of the long pins as a guide, make a book binding pamphlet stitch to hold the spine together.
  • Add extra stitches to hold the pages in place.
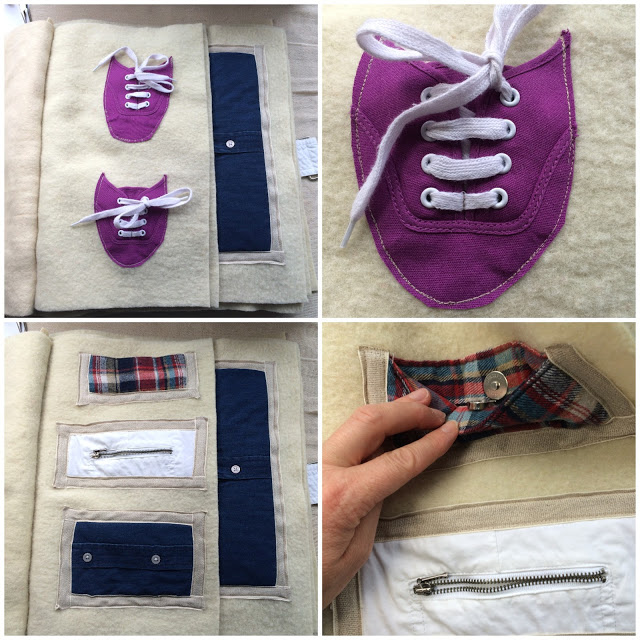
I am thrilled with the finished book, especially the book fastener.

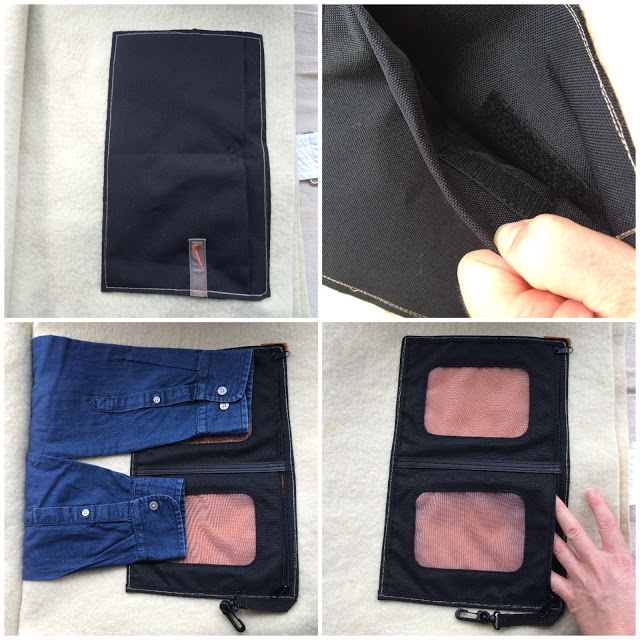
The laces were stitched down to stop them being removed


Shirt sleeves were added between the pages

I’ve had a brilliant response to this book from teachers and parents who feel it would be a perfect resource for infants and special needs students. I’d love to hear if you make one or have made something similar in the past. Please share and leave your comments below.
Jessie Chorley at the Guild

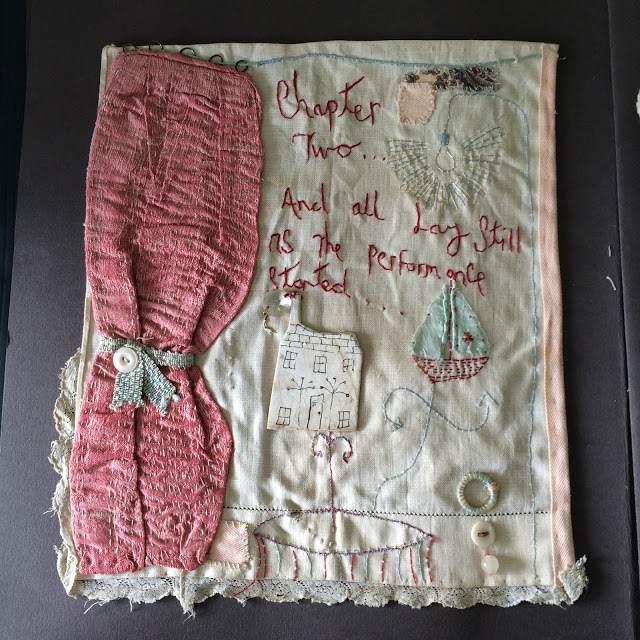
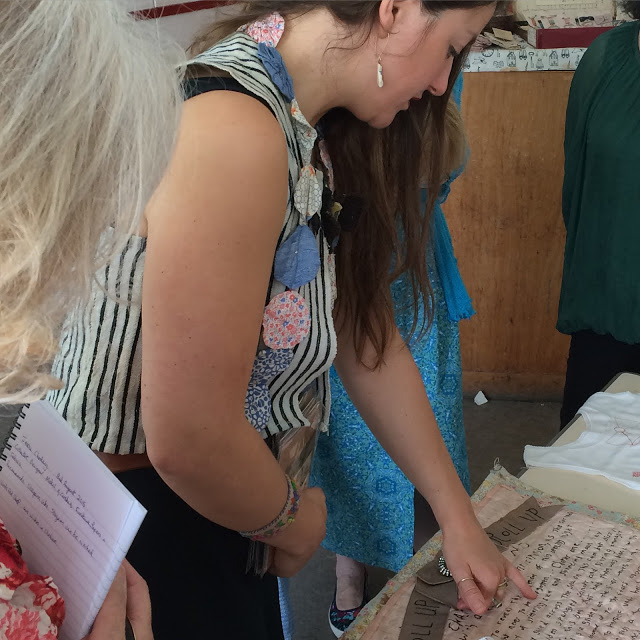
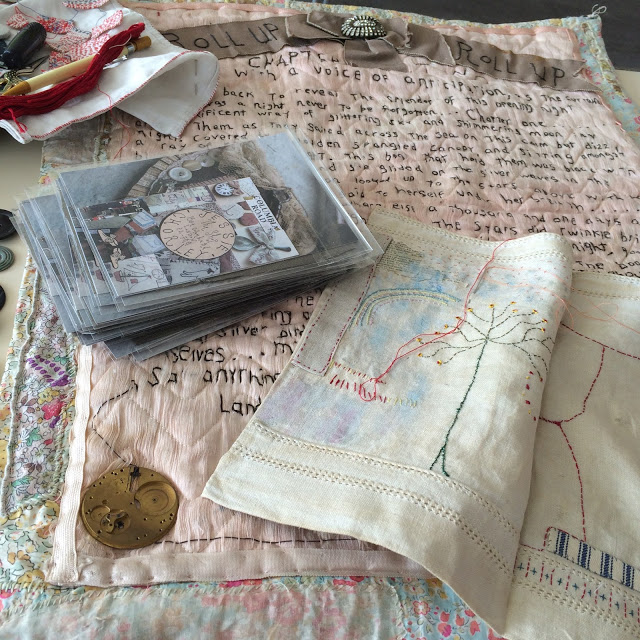
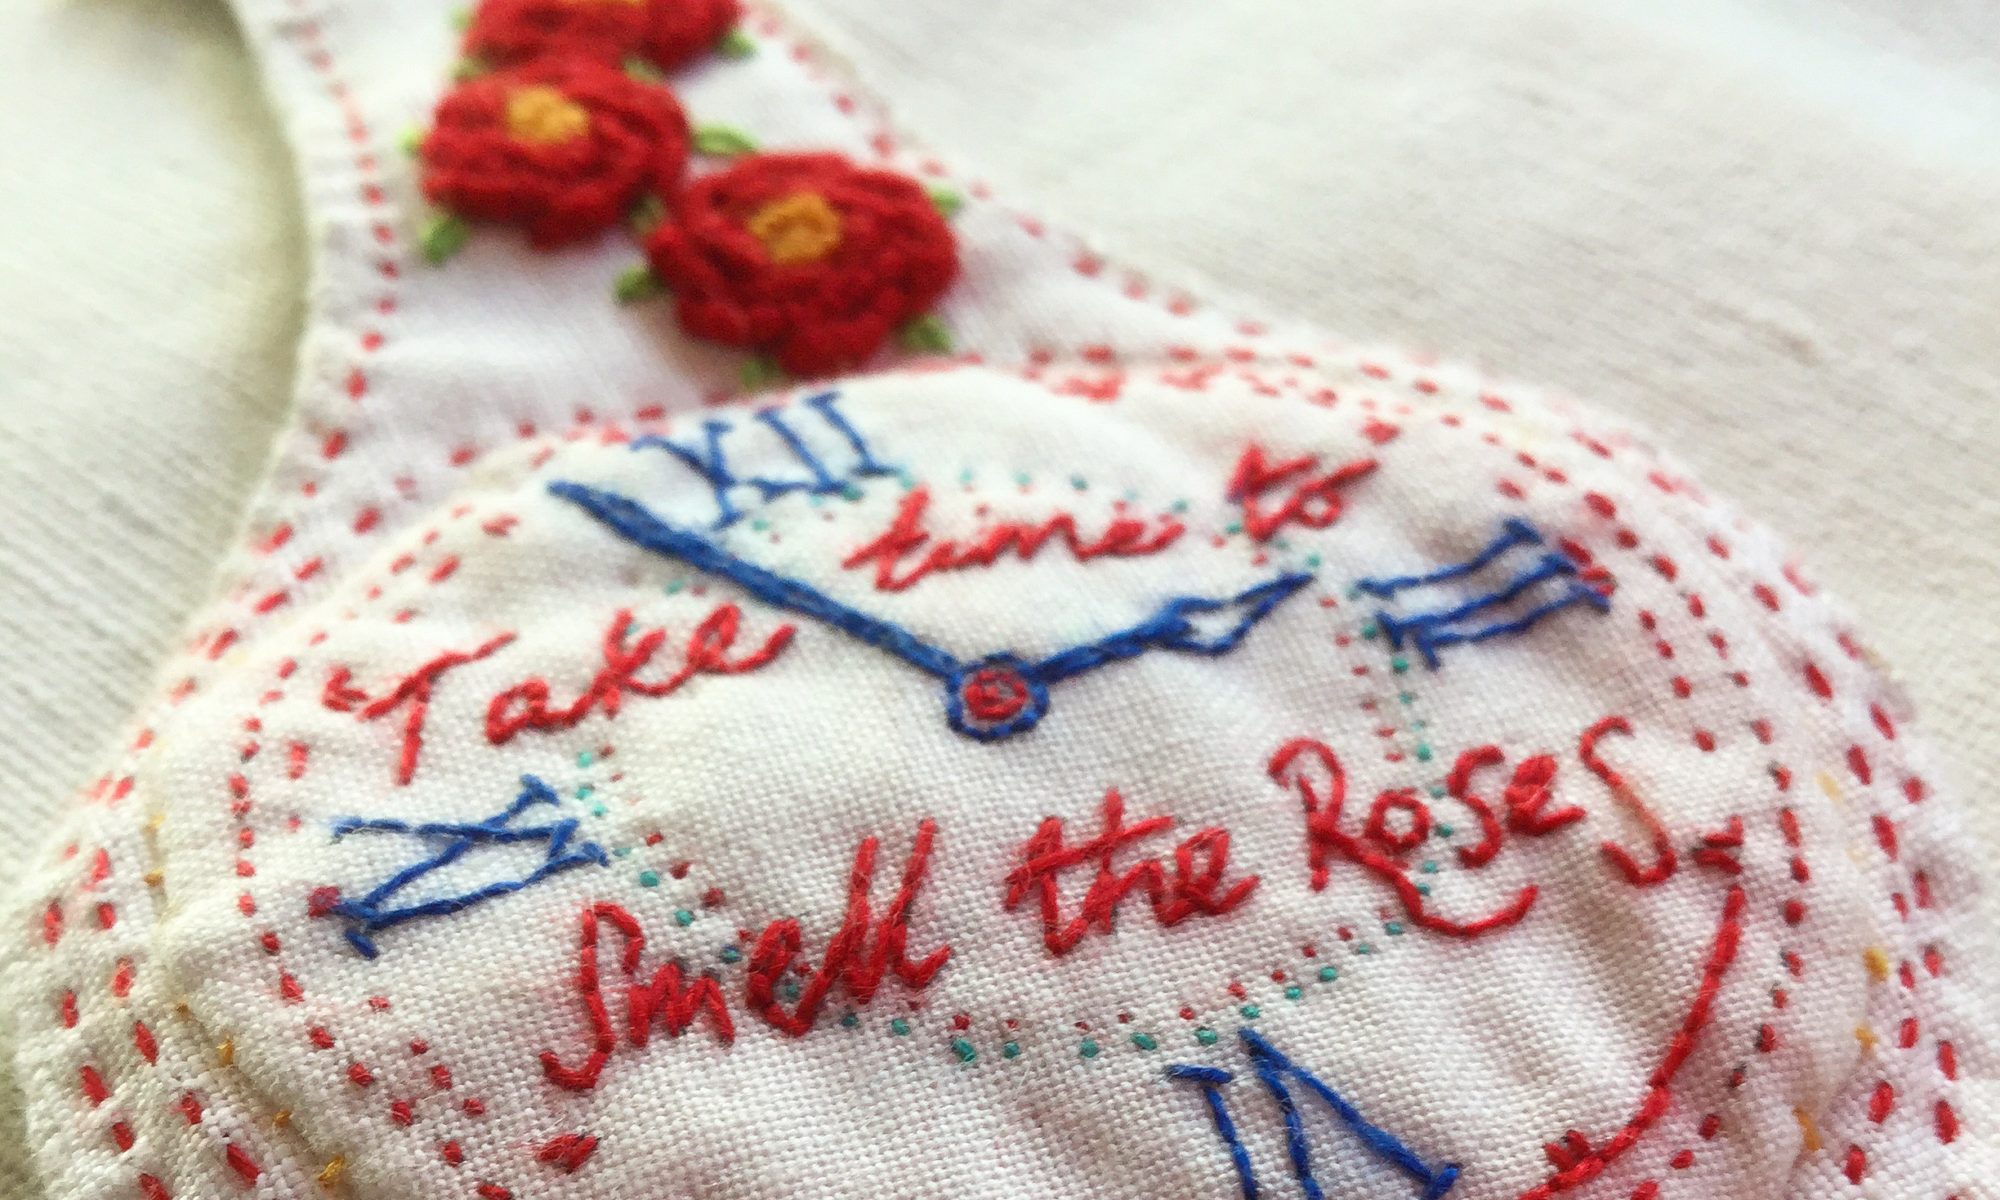
My place had been booked for months for this ‘Embroidered Handkerchief’ workshop. I was so excited. I love Jessie’s style of work. She incorporates found objects, re-purposed and vintage textiles, story telling, printing, and plenty of hand stitching.

By Jessie Chorley
Jessie Chorley
By Jessie Chorley
By Jessie Chorley
I have been following Jessie Chorley’s work for a number of years now and have been lucky to attend many of her weekend classes at Hope and Elvis – all truly wonderful.  This workshop was nearer my home and with my girlfriends at the Hertfordshire Embroiderers’ Guild.
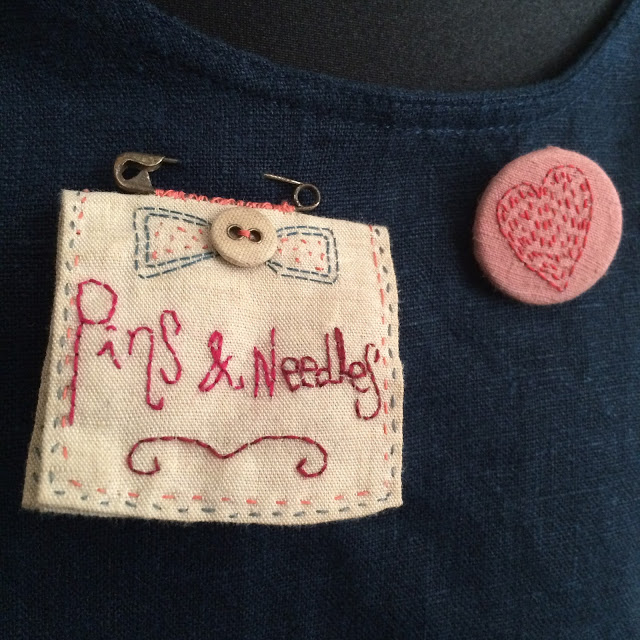
I had offered to be hostess for the day (involves keeping the tea flowing throughout the day and providing lunch for the tutor) which kept me rather busy, so I spent more time thinking about my sewing than actually doing much of it. Which was quite nice.  I hadn’t really spent a day like this before. It offered me the opportunity to revisit the same piece of work throughout the day, audition threads, fabrics and ideas, until I was very content with my choices and started sewing (quite late in the day). I also stitched a pin onto the back of one of Jessie’s heart buttons and adding it to my apron. I love it!
Work By Jessie Chorley
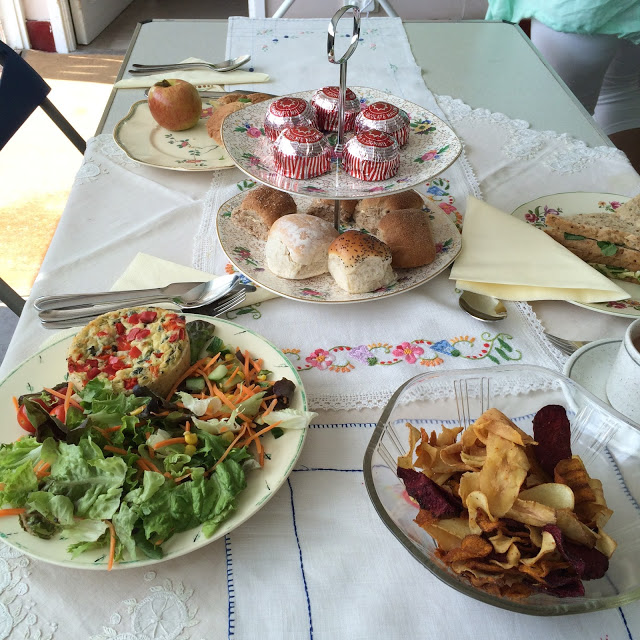
Having met Jessie before, I knew that she loved vintage everything. A perfect excuse to raid my vintage linens and vintage china to make her lunch special.
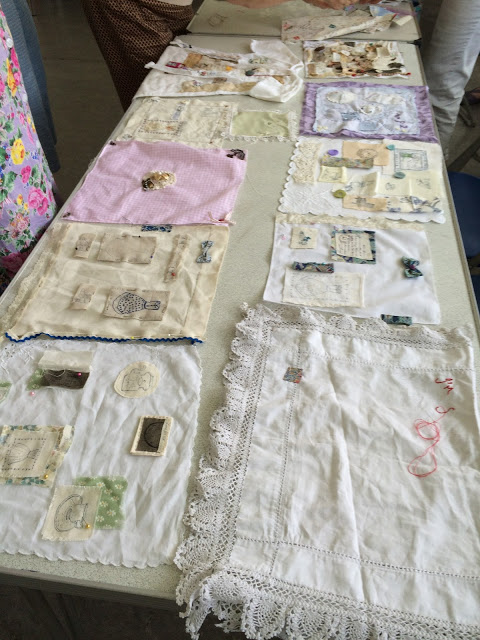
By the end of the day, many of the faster stitchers had completed a tremendous amount of work. I am always stunned at the Show and Tell. Each person has been given the same guidance from Jessie and yet each has created such different pieces.
Our Show and Tell
It was a wonderful day. I haven’t been on any form of workshop for quite a few months and I really have missed doing them.
As a quilter in my previous life, I used to attend and teach a great deal of patchwork and quilting workshops. Each class (or rather the quilters) were rather driven to achieve something substantial or an objective – like a quilt top – by the end of the day (quite a lot of sewing). Since I have moved into hand embroidery, I am more content with the design elements of carefully positioned coloured threads and fabric scraps – ‘slow-stitching’ – and have enjoyed my workshops more as a result. Just giving myself ‘permission’, the time to think, has made a huge difference to my work. I now go home with my mind buzzing and several more projects developing.
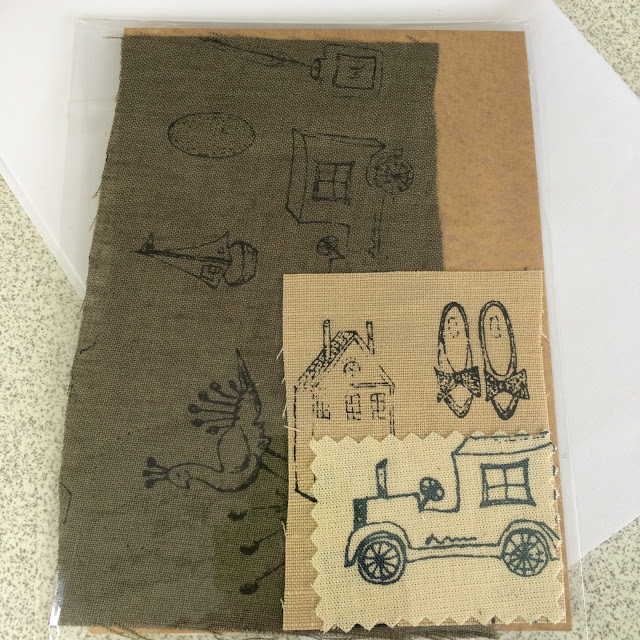
I forgot to mention, Jessie gave us each a gift at the start of the day – some pieces of her new printed fabrics. They are so yummy.
Goody bag
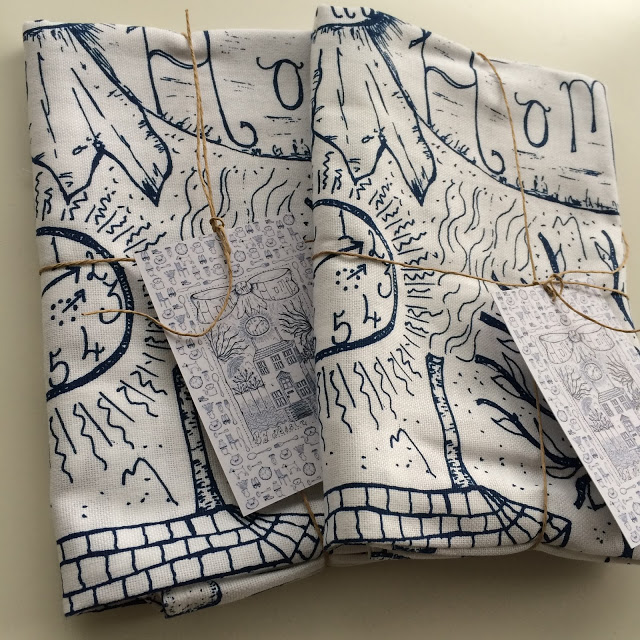
She had also brought some goodies for sale. Some of her printed tea towels gave home with me.
Jessie’s new book is out 15th August 2015. More photos of it to follow in a later post. I have had a sneak preview and it’s a purchase I would definitely recommend.
The brand new book By Jessie Chorley

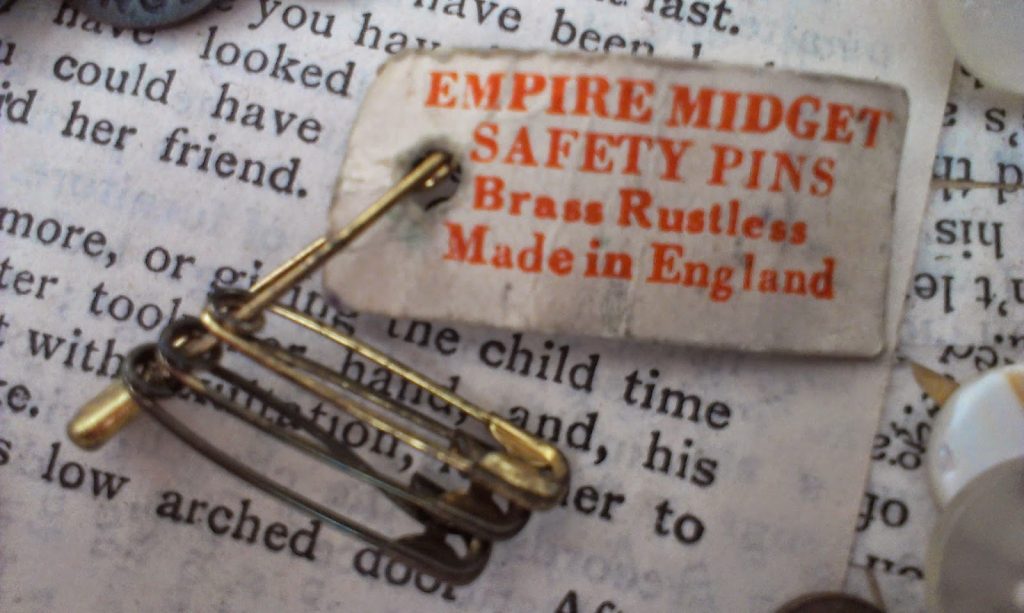
Brass Safety Pins – A very useful bit of vintage kit.

A new acquisition of a safety pins. A new addition to my vintage kit.

Safety Pins

Vintage, small brass covered safety pins are a staple piece of kit in my projects.

Some are given pride of place on the front of my work, incorporated in mixed media design and embroidery art.

Whilst some are used the old fashion way as fasteners on the back of pieces.

Safety Pins
Small vintage brass safety pins

My favourite use is utilising them is as a ‘pin’ to hang found objects from.

Vintage Packaging

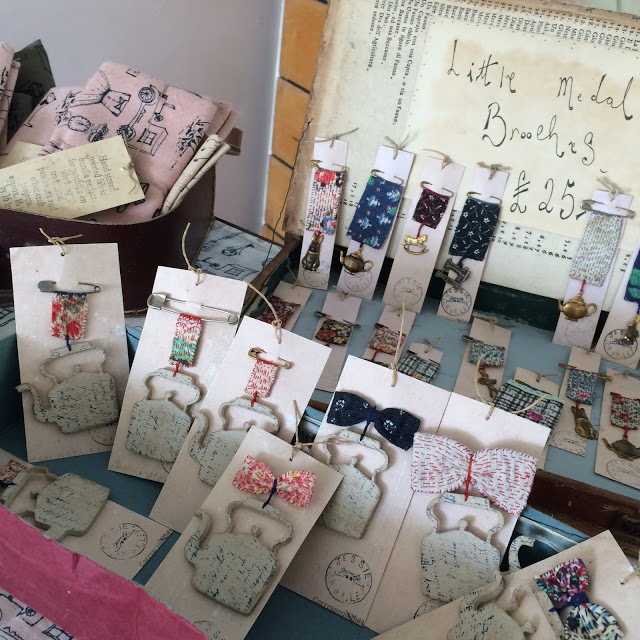
The bonus for my latest collection of pins, was the addition of the vintage packaging which I like to use as a background to display textile art.  The wording, the font and colours also provide inspiration for future projects.

A Safety Pin is a very versatile piece of kit.