The piped binding method I have used on this project is from the Ricky Tims Grand Finale DVD – I was lucky enough to buy the DVD from the man himself, and get it signed too! (he’s quite a lovely chap).
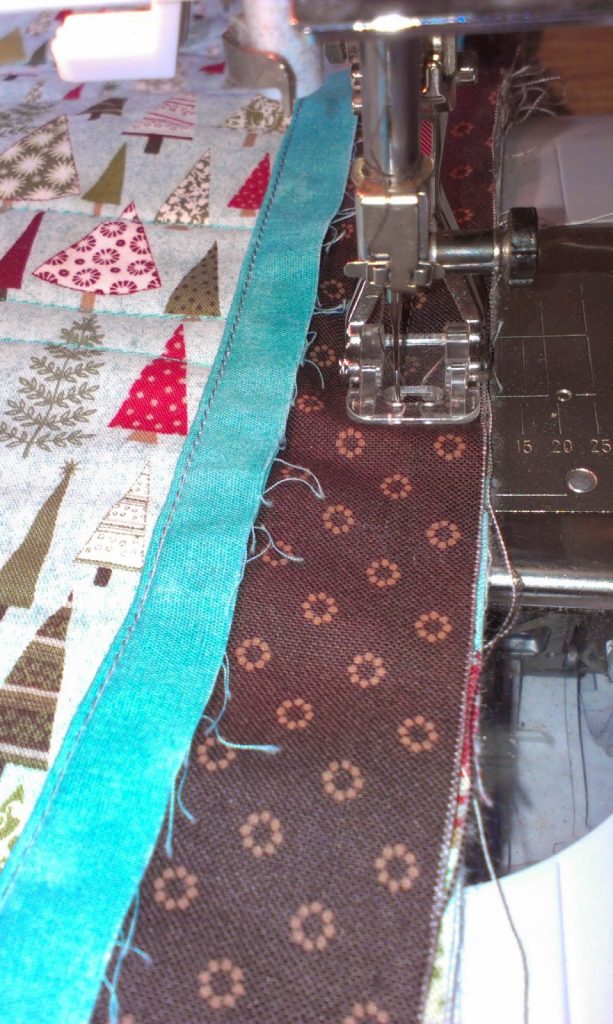 |
| Apply binding to BACK of the work |
Top Stitching
I used a foot with a rudder to carefully top stitch with a co-ordinating thread to attach the binding.
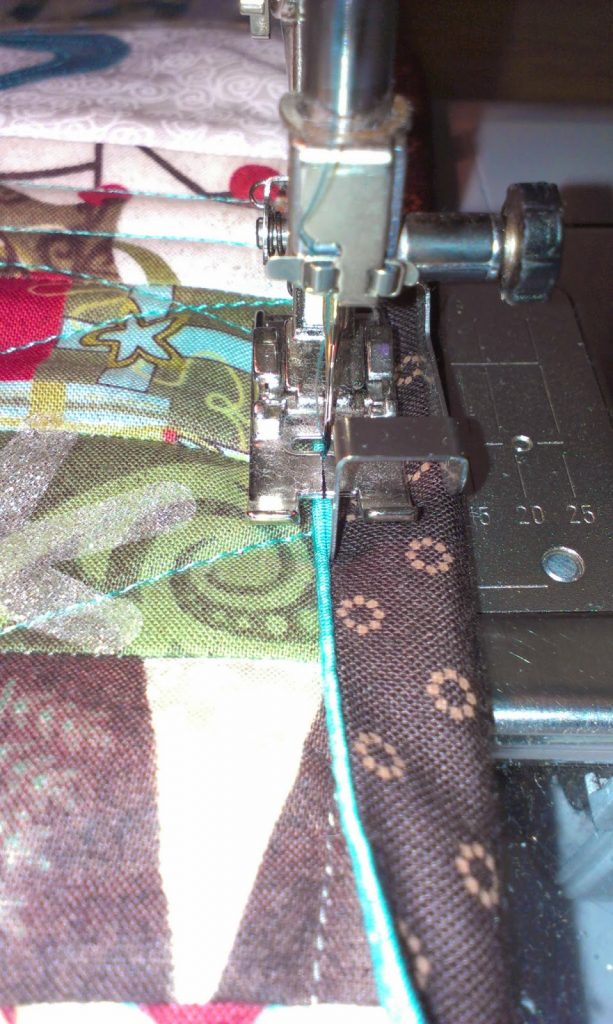 |
| Fold over to front & top stitch |
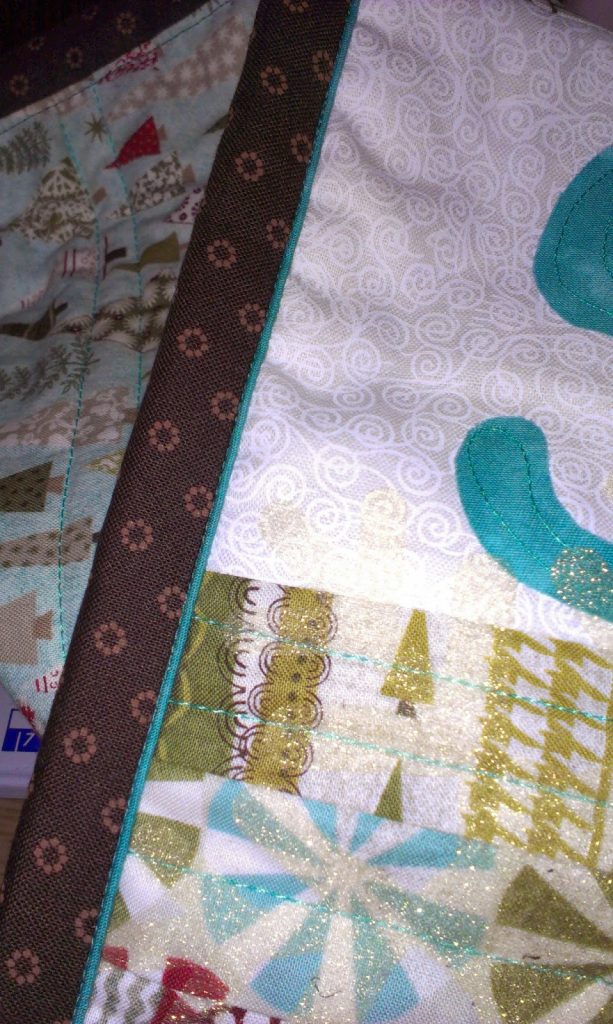 |
| The binding finished |
Corners
These are always the trickiest part of any quilt binding.
Ricky Tims piped binding method, allows you to top stitch right around the whole quilt in one fell swoop, including the corners. It’s brilliant!
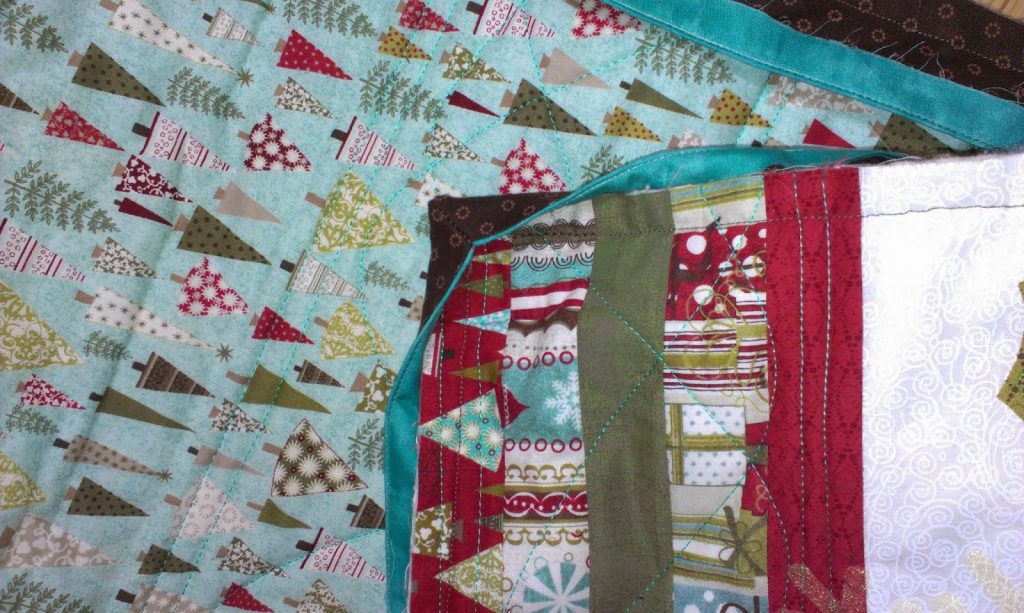 |
| Corners are mitred and folded to the front |
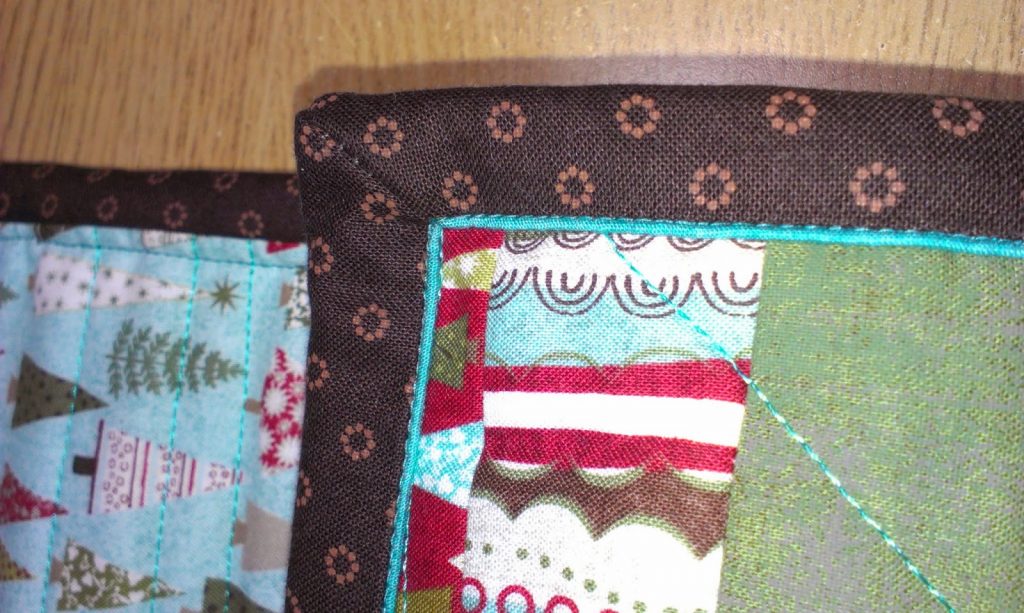 |
| Finished corners |
Prepare my Bindings
I have a tendency to prepare two or three bindings at once for projects and have them rolled up (in a ‘bindings’ pot). They are ready to go once the quilting is completed. This binding for the table runner was made in this way (two years ago) when I was very unsure of how to complete the embellishments on the runner.
Sometimes I have to live with a project for a while (sometimes quite a long while) before I know how to move onto the next stage of the creative process.
Too Many Choices
Quilting patterns usually hold me back – in the ditch, curved, linear, chunky thread, machined, hand, stab-stitch, seed-stitch or even embroidery work – it all needs considering.
The DVD is a brilliant resource which I have always gone back to in order to complete several projects over the years and is worth it’s weight in gold. This method of binding is fully machined, no hand sewing involved, which means a king size quilt can be bound in a day or even a long afternoon (once you are practiced!)… A very satisfying process.
Are you a hand or machine quilter? Has this post changed your mind about maybe trying out the Ricky Tims’ method? Share your thoughts below.
