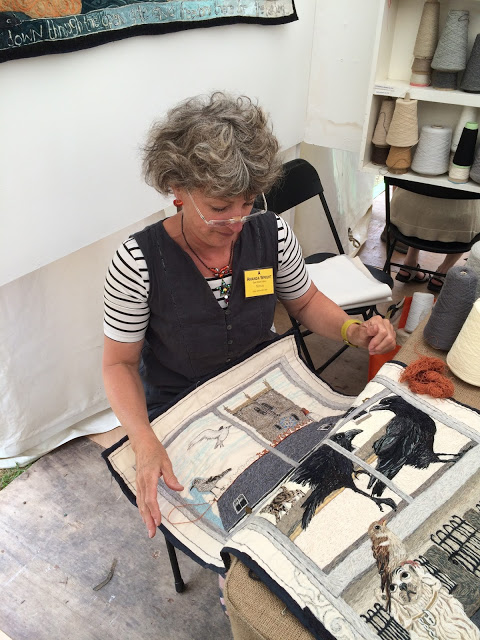
It’s Bank Holiday Monday. All my chores are done, and I need a PVC apron for an up and coming mixed media workshop this weekend – but I don’t actually own one.
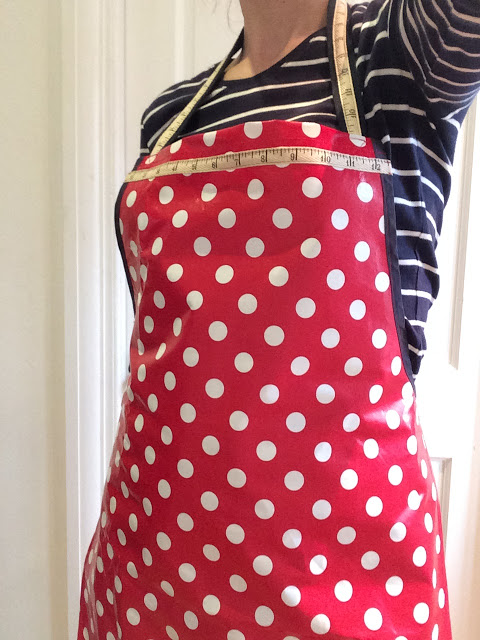 |
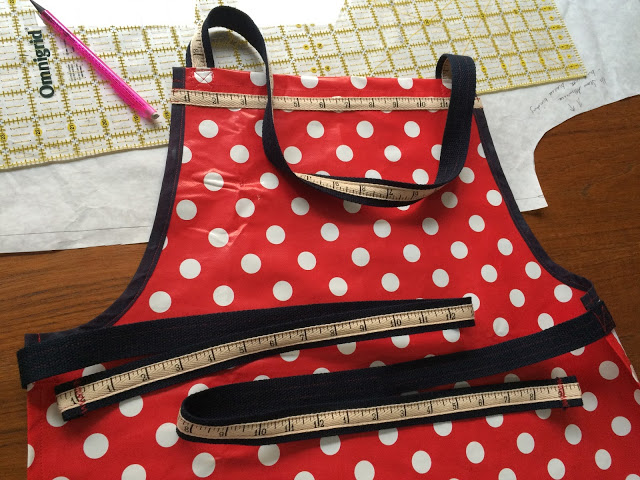
| My new Make-Do-And-Mend Spotty Apron |
I thought about buying one, but instead set myself a challenge to make one from the bits and bobs that were in the house.
My first thought was an old wipe-clean tablecloth I had left over from a party that was languishing in my sewing room.
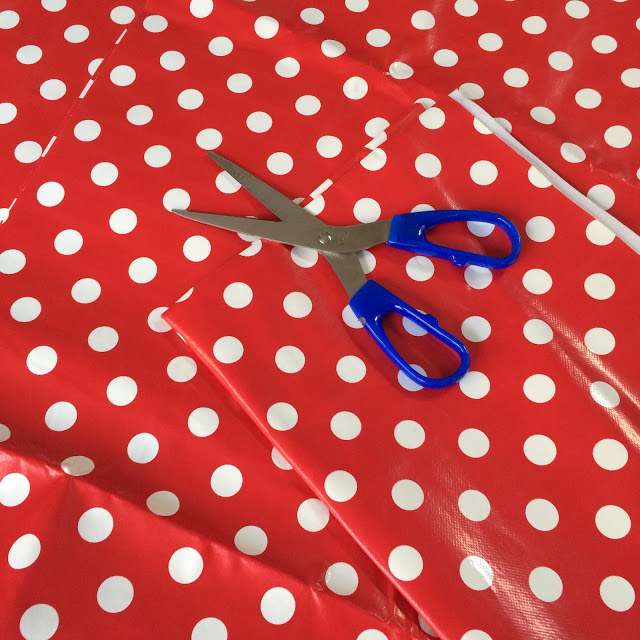 |
| An old PVC table cloth |
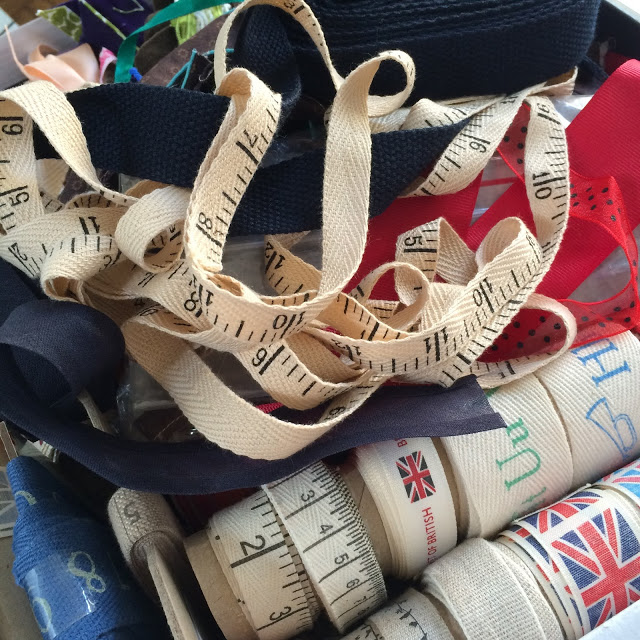
Then I thought of the webbing needed for the ties and neck straps – this I found in a box full of trimmings (and I also found some yummy ‘sewing tape’ for decoration), and some bias tape.
The whole piece was constructed in an afternoon, and this is how I made it.
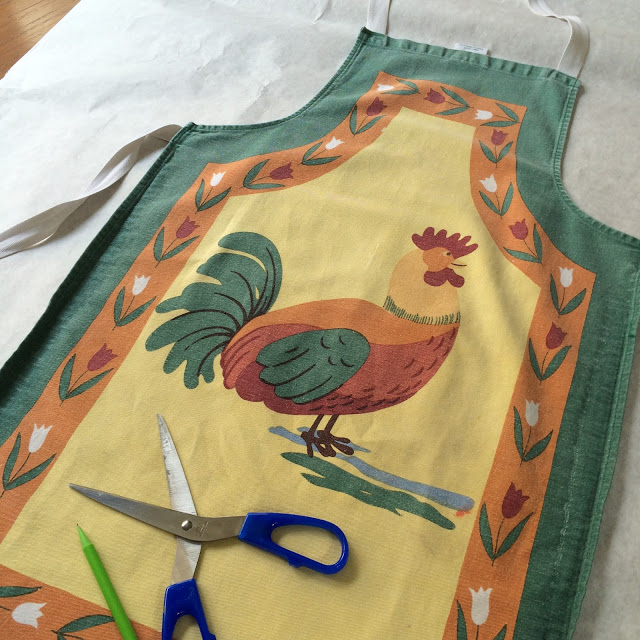
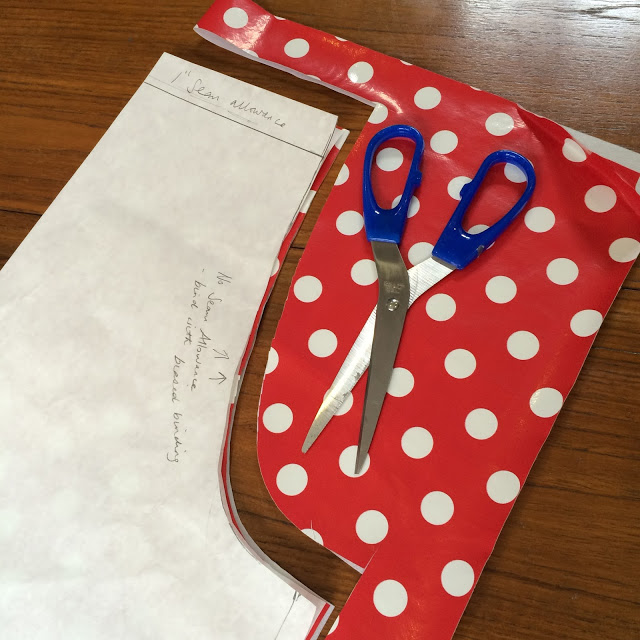
- I found an old apron that fitted me well and folded it in half lengthways. Folded dressmaking paper in half (I’ve used greaseproof paper or newspaper to make templates in the past) and made an apron pattern, adding extra all around for my seam allowances.
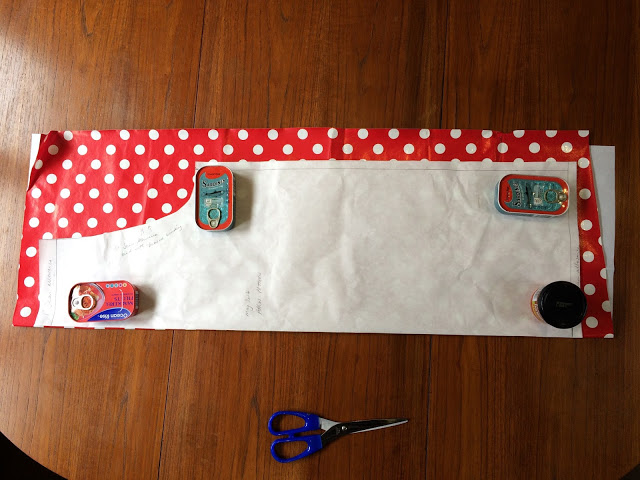
- Cut a piece of the spotty fabric larger than I needed and folded it in half to get the spots symmetrical down the front of the finished apron. Placed the folded paper pattern on top and used tins to weight it down – could’t use pins in this project! Cut out the fabric.
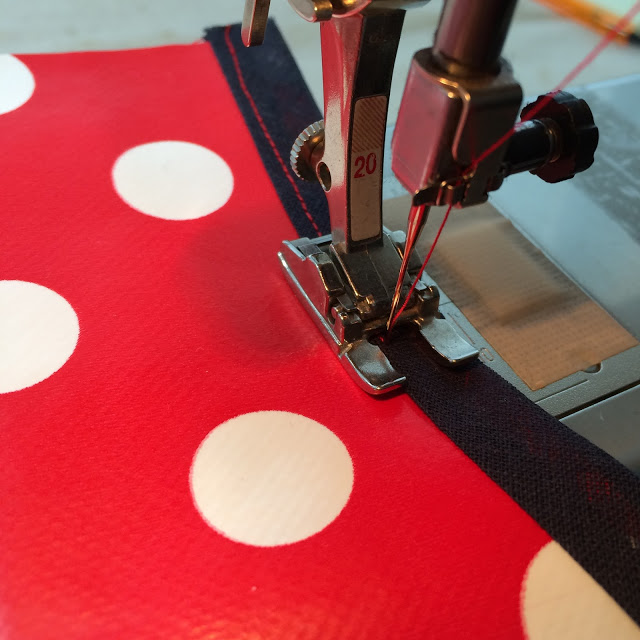
- Stitched the bias tape to the curved edges.
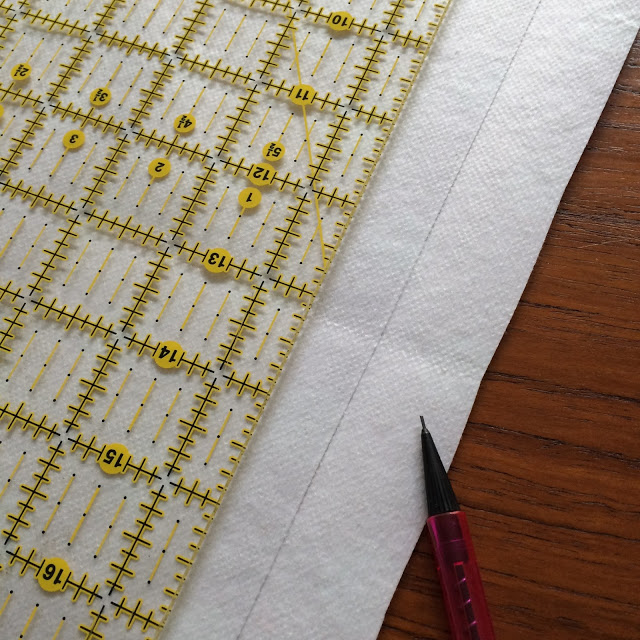
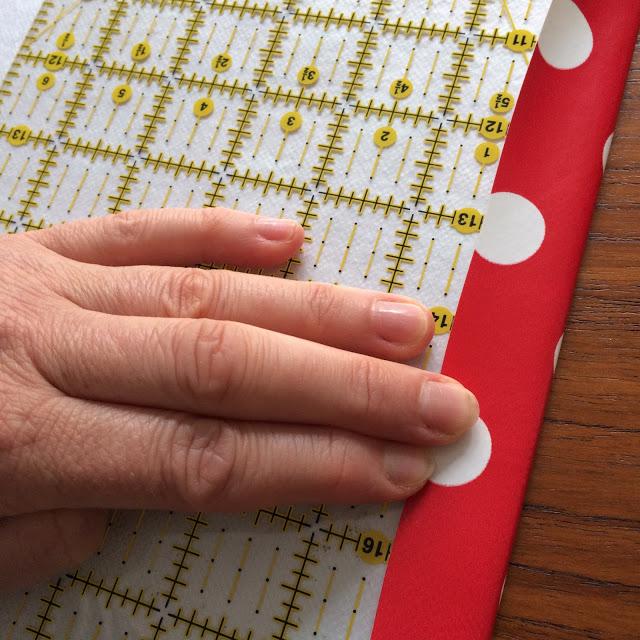
- Marked the seam allowance with a pencil and used a ruler to help fold and finger press the sides, bottom and top edge.
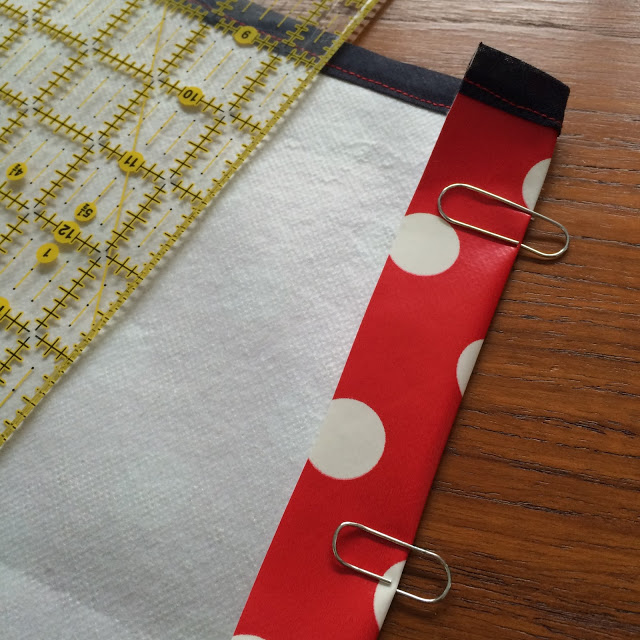
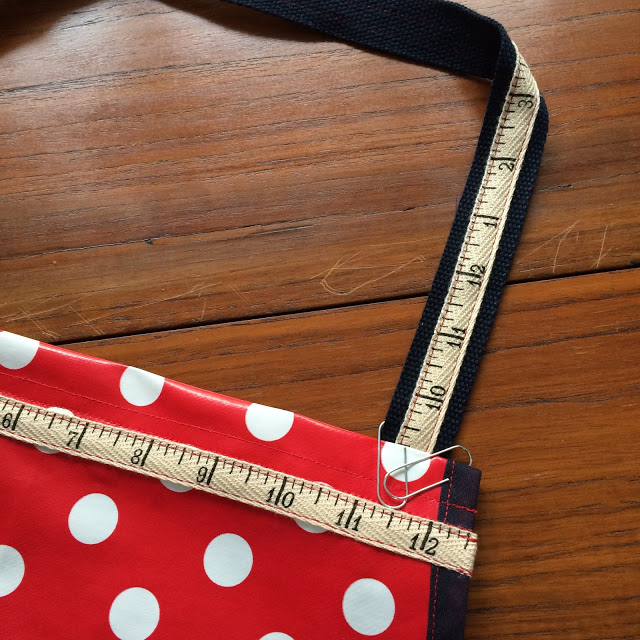
- I used paper clips to hold the folded seams in place then stitched them down – the sides, bottom and top edge. Then added some decoration – a strip of ‘sewing tape’ to the top edge of the apron.
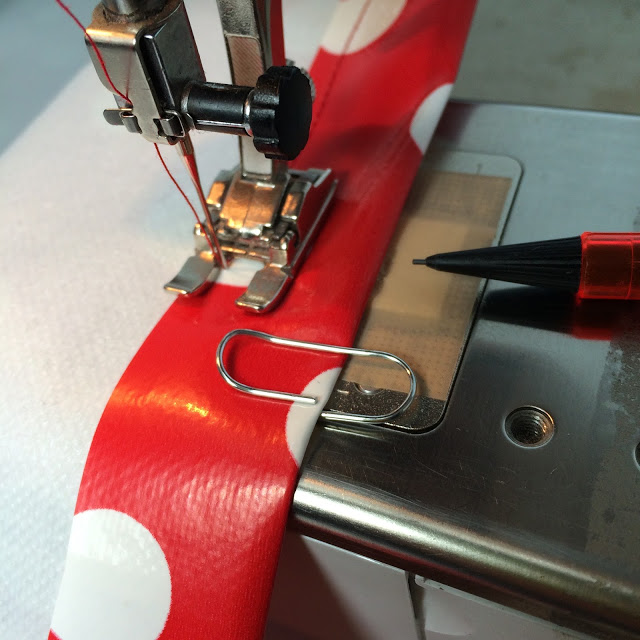 |
| I pencil marked the ‘plaster’ to create a guide for the depth of the seam allowance |
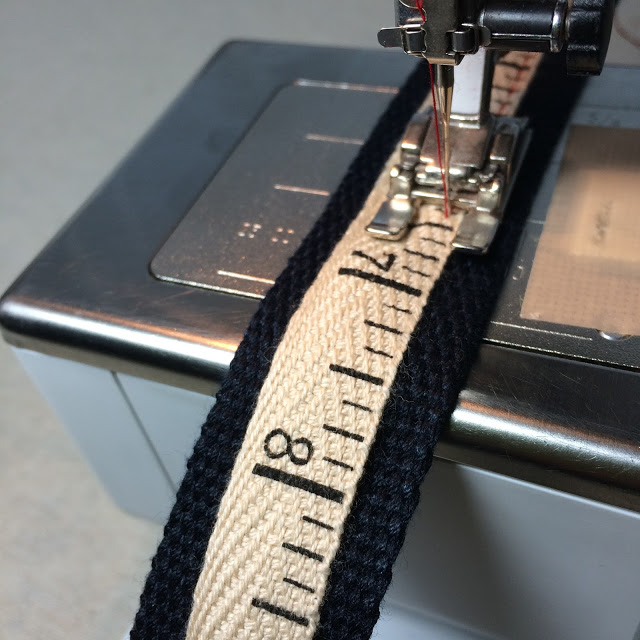
- Using the old apron, I measured the neck and waist webbing. Then cut out the blue webbing and ‘measuring tape’ which I stitched into place as decorative detail. Then added each to my apron using my old apron as a guide.
I’m so happy with the finished apron. It fits brilliantly and didn’t cost me a penny!
Let me know about your Make-Do-And-Mend’ projects.


